Using Keycloak
This documentation is for Dash Enterprise.
Dash Enterprise is the fastest way to write & deploy Dash apps and
Jupyter notebooks.
10% of the Fortune 500 uses Dash Enterprise to productionize AI and
data science apps. Find out if your company is using Dash Enterprise.
Dash Enterprise uses Keycloak, an open-source identity and access management solution.
The Keycloak admin console (or Keycloak) is where administrators can configure authentication settings, manage users, assign roles, and set up an identity provider. To access Keycloak, you’ll need special credentials. These credentials were obtained by the administrator who performed your Dash Enterprise installation and stored according to your organization’s best practices.
Creating Your Admin User
Administrators who handle user management typically create a Dash Enterprise user with the admin role for themselves. If you don’t already have a Dash Enterprise admin user, create one natively in Keycloak to be able to log in to Dash Enterprise with
admin privileges. Alternatively, skip to Choosing an Identity Provider Mode to use a user from your IdP (assigning the admin role after integrating the IdP).
To access Keycloak directly and create your admin user:
- Go to
https://auth-<your-dash-enterprise-server>. - Enter the Keycloak credentials that were stored as part of your Dash Enterprise installation; then select Sign In.
-
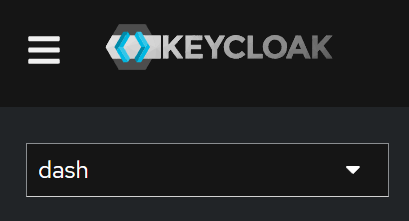
Make sure dash is selected in the realm list in the top left corner.
-
Select Users > Add User.
- In Username, enter the username you want to use. If you enter any capital letters, the username is changed to full lowercase (for example,
jenny) when you save. - Select Create. Additional settings become available.
- Go to Credentials.
- Select Set password.
- In Password and Password confirmation, enter the password you want to use.
- Select Save; then Save password to confirm.
- Assign the
adminrole:- Go to Role mapping.
- Select Assign role.
- Change the filter to Filter by clients.
- Find and select the role called “
dashadmin”. Note that if you intend on deploying apps, you’ll also need the “dashlicensed_user” role, and assigning this role consumes a license seat. - Select Assign.
To log into Dash Enterprise with this user, go to https://<your-dash-enterprise-server> and enter the credentials you set in Keycloak. Dash Enterprise opens to the Portal. Go to the App Manager by selecting Apps > App Manager.
<img>
With the admin role, you have permission to access the Admin section of the App Manager. Users contains an overview of the user information in Keycloak,
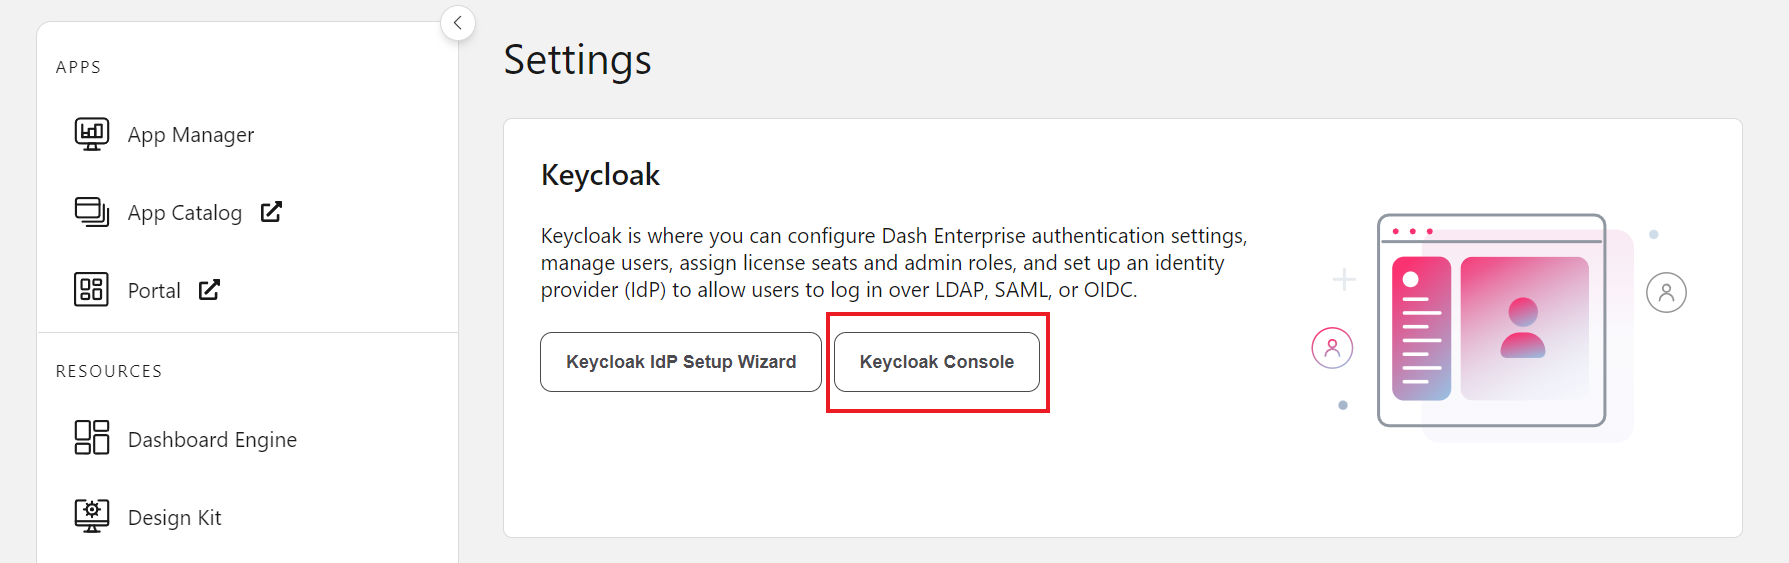
and Settings contains useful links as well as the system limits setting.
<img>
You can now go to Keycloak from Dash Enterprise by selecting Settings > Keycloak Console. Note that you still log in to Keycloak using the special stored credentials, not your Dash Enterprise user credentials.
Realms and Realm Settings
Keycloak uses the concept of realms to contain a set of users, credentials, roles, and groups. In Keycloak, you’ll see two realms: dash and master.
When configuring Enterprise users and settings, always make sure you’re in the dash realm (the master realm exists mainly to manage realms). The dash realm
is how Keycloak applies your changes to Dash Enterprise.
In Realm settings, you’ll see many realm-level settings that you can customize.
<img>
For now, here are a few that you should be aware of:
- Session length: By default, the access token lifespan is 24 hours, which means that users can stay logged in for 24 hours even if they exit Dash Enterprise. Users are logged out after these 24 hours, as long as they have exited Dash Enterprise. When idle (Dash Enterprise remains open), users are logged out after 90 days. To customize this, to go Tokens and edit the SSO Session Idle and SSO Session Max settings.
- Brute force detection: On by default. To review and customize the lockout behavior, go to Security Defenses > Brute Force Detection.
Known issue with configuring an SMTP server: If you configure an SMTP server in the Email tab of the realm settings, Keycloak uses the email address that you enter in the From field as the new username for the Keycloak Master realm (the user that you log in as when using the Keycloak admin console). This means that trying to log in to Keycloak with the username
adminwill fail. To work around this issue, go to the Master realm and create a new user with usernameadminand the password that was stored as part of your Dash Enterprise installation.
Choosing an Identity Provider Mode
Note: We recommend keeping only one IdP active at any time in Keycloak.
To continue, choose between these two options:
Troubleshooting Identity and Access
Missing IdP Users or Groups
If you can’t find a user or group from an external IdP when adding co-owners or viewers to an app, it may be because the user (or a member of the group) hasn’t logged in yet.
Users synced from an IdP are only available in Dash Enterprise once they log in, and IdP groups are only available once a member of the group logs in.
To be able to add a user as a viewer or co-owner on an app in Dash Enterprise before they log in, you can manually create an account for them in Keycloak and provide them with the password. When the user logs in for the first time using their IdP credentials, an “Account Already Exists” message will be displayed and they can select Add to existing account to merge the accounts. They’ll need to enter the credentials for the account that you manually created in Keycloak. The user will then be able to log in normally via the IdP for future sessions.
For details on how to create a new user, see Creating a New User. Make sure that the username you set in Keycloak matches the one in your IdP. Remember to share the credentials with the user, as they’ll need these to merge the accounts once they log in via the IdP.
Similarly, if you need an IdP group to be available in Dash Enterprise but none of its members have logged in yet, you can create a group in Keycloak with a name that matches the identifier mapped from your IdP.
For details on how to create a new group, see Creating Groups.