Using the IDE
This documentation is for Dash Enterprise.
Dash Enterprise is the fastest way to write & deploy Dash apps and
Jupyter notebooks.
10% of the Fortune 500 uses Dash Enterprise to productionize AI and
data science apps. Find out if your company is using Dash Enterprise.
When you open a workspace, you’re taken to the integrated development environment (IDE). The IDE is a VS Code-like editor and works similarly, though there are some functionality differences. (See the Warnings & Limitations page).
Using the IDE as the App Owner
If you created a blank workspace, there are no app files. If you created a workspace based on a previous commit for your deployed app, your app files are available in the explorer panel on the left of the screen.
Select the pages icon to hide or show the explorer panel.
As the app owner, you can manage files and folders, as well as use the terminal.
Creating Files and Folders
You can create new files and folders in your project from the File menu, or by right-clicking in the explorer panel and selecting New File or New Folder.
Uploading Files to the Workspace
Drag files to the explorer panel to upload them to your workspace:
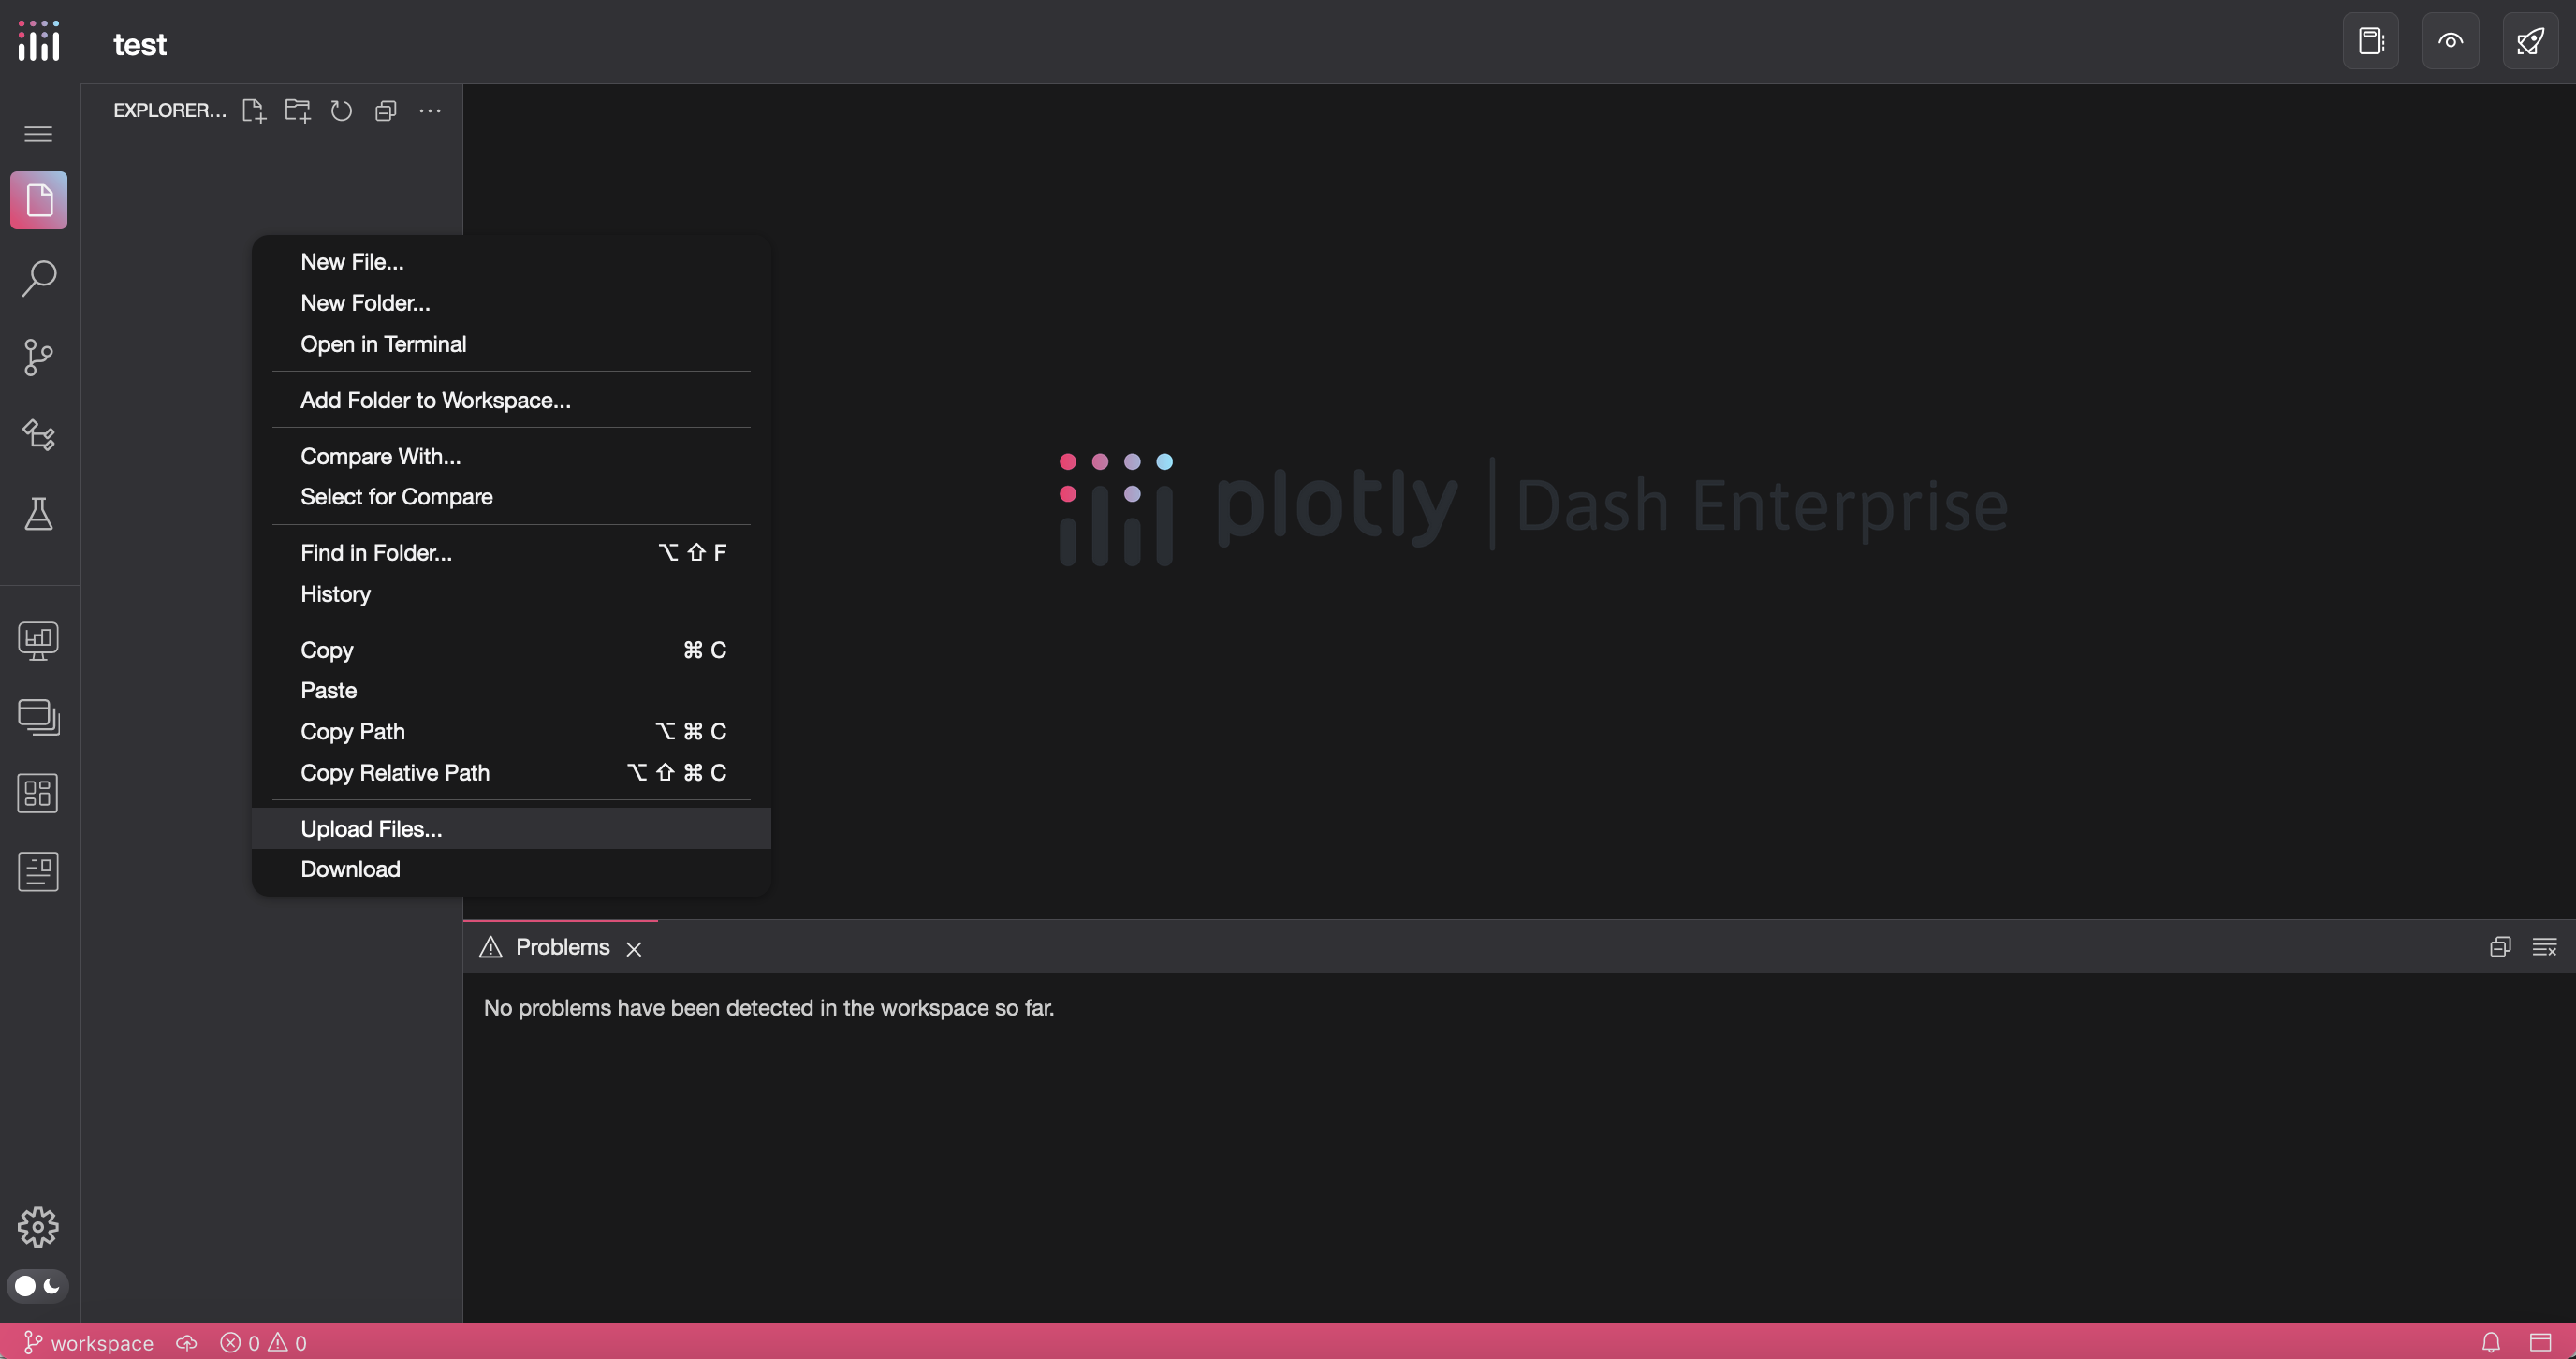
Alternatively, you can right-click in the explorer panel and select Upload Files:
Cloning from an External Git Repo
You can also clone an external Git repository. See Cloning Repositories into a Workspace for more information.
Saving Files
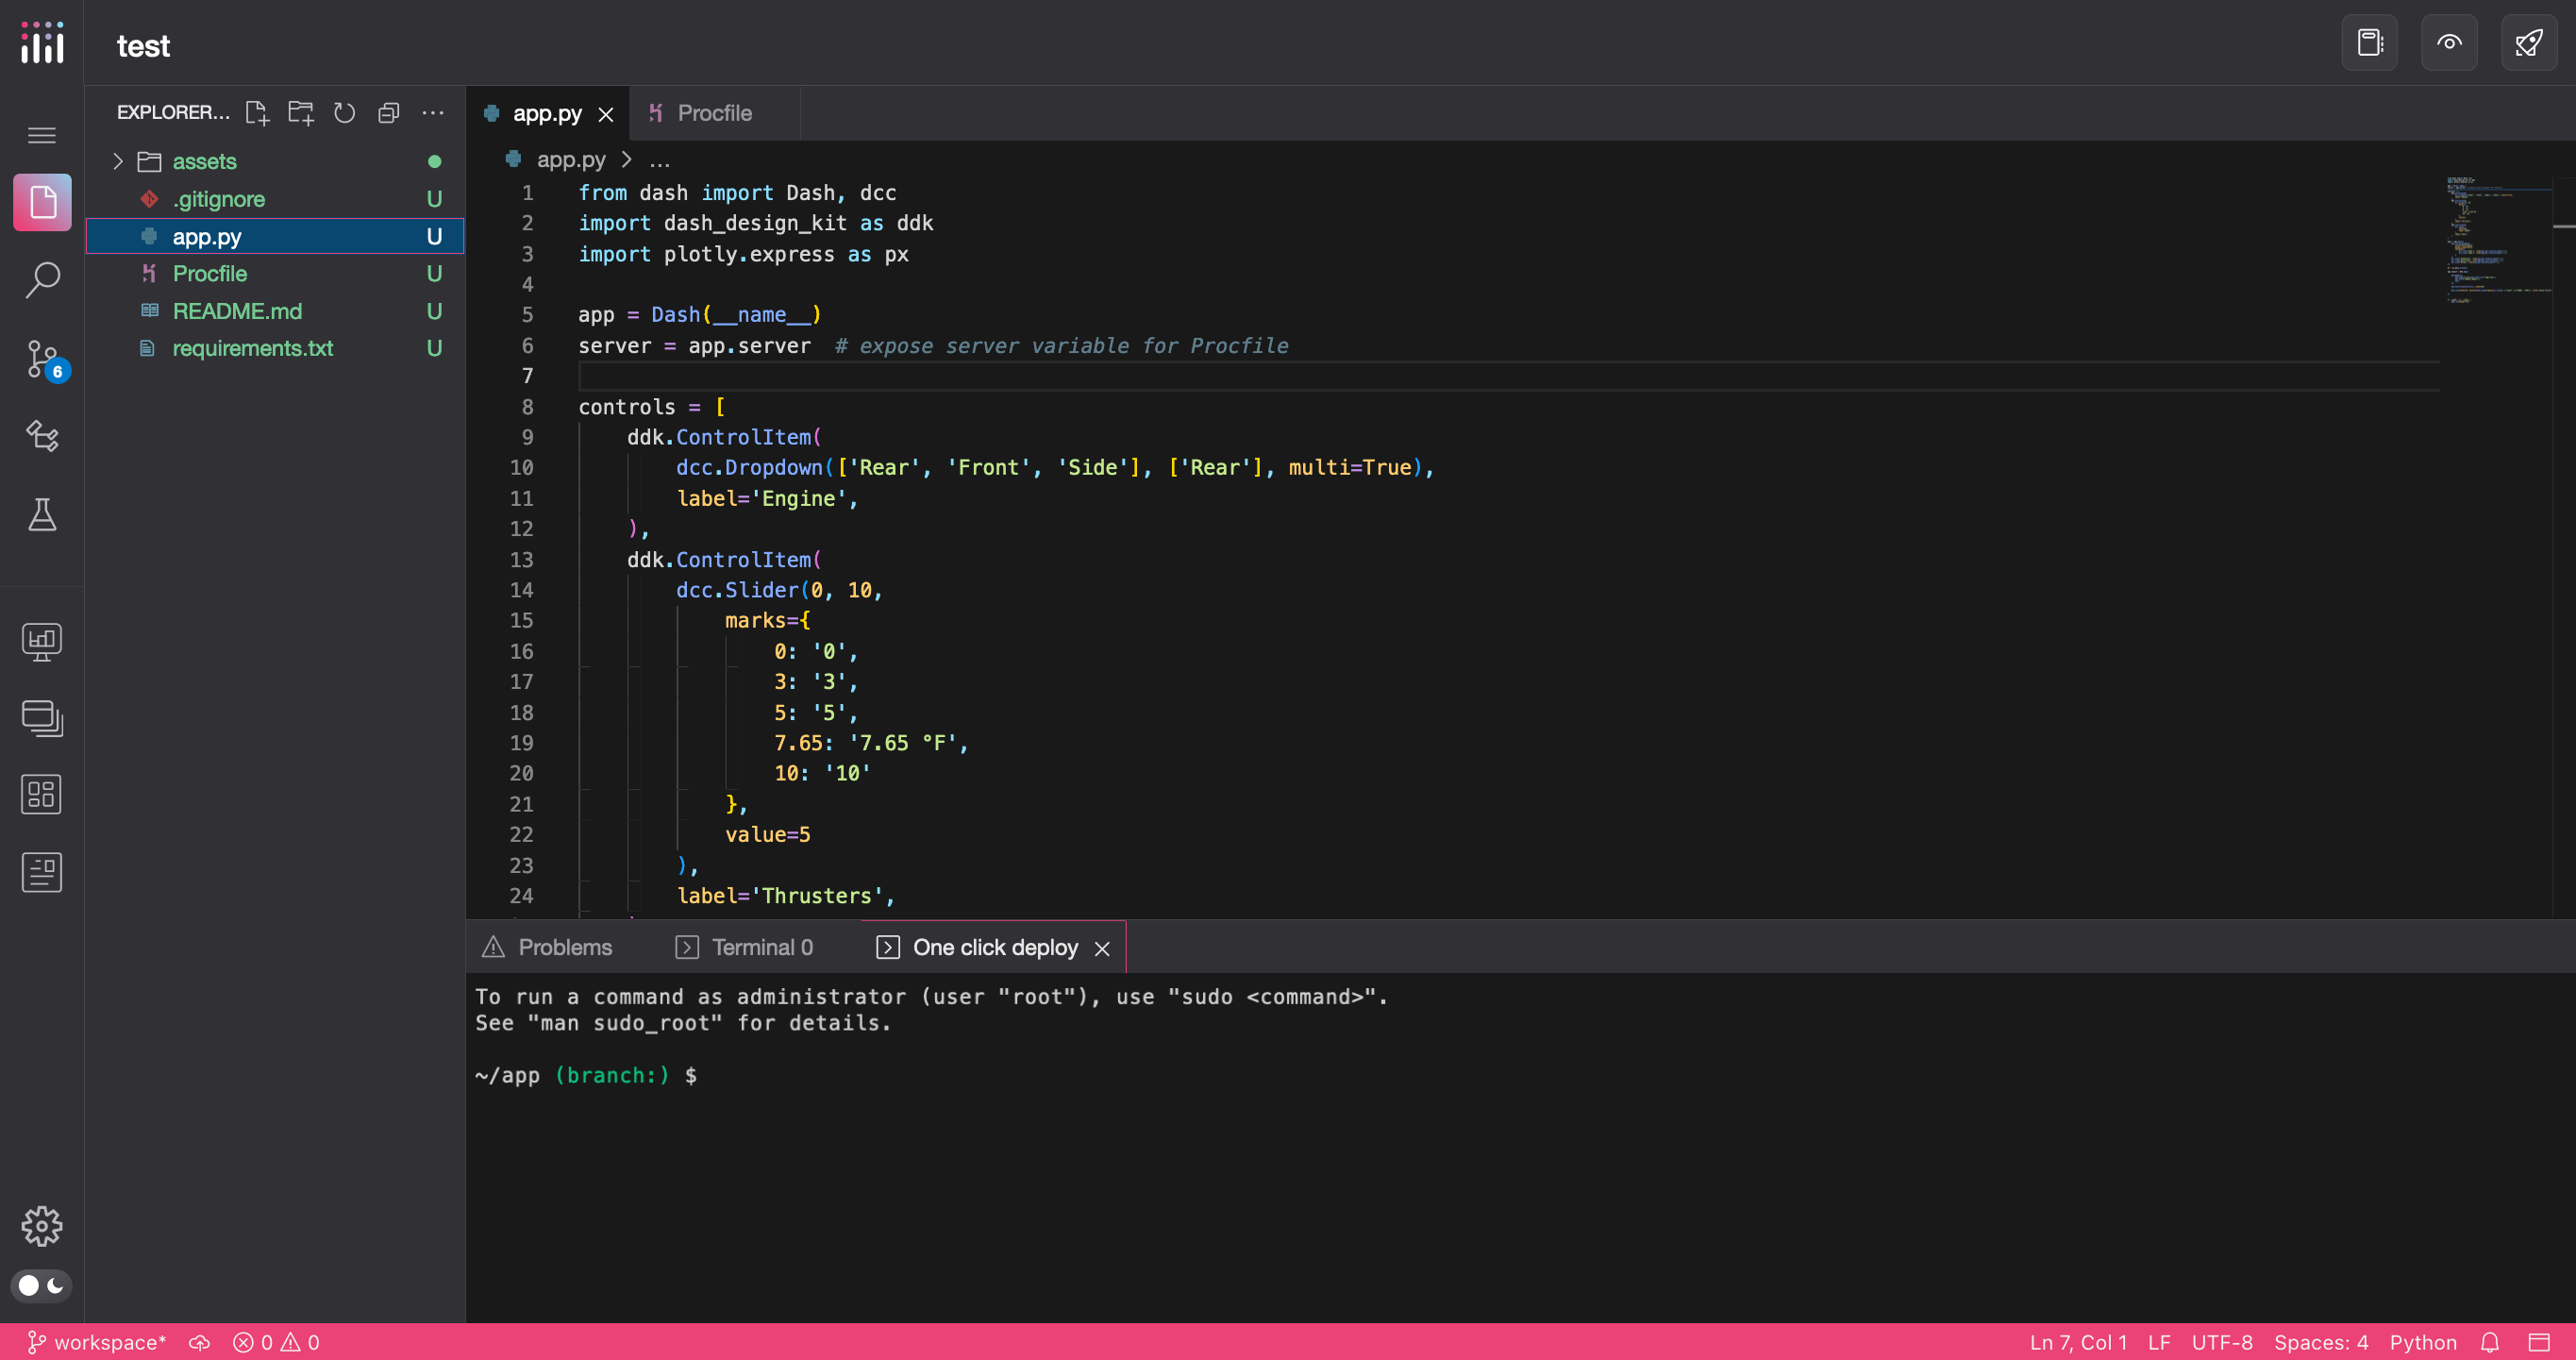
Save changes to a file by selecting File > Save from the main menu:
<img>
Or using the keyboard shortcut: Ctrl+S (Windows/Linux) or Command+S (Mac).
You can also enable Auto Save for a workspace. To enable Auto Save:
-
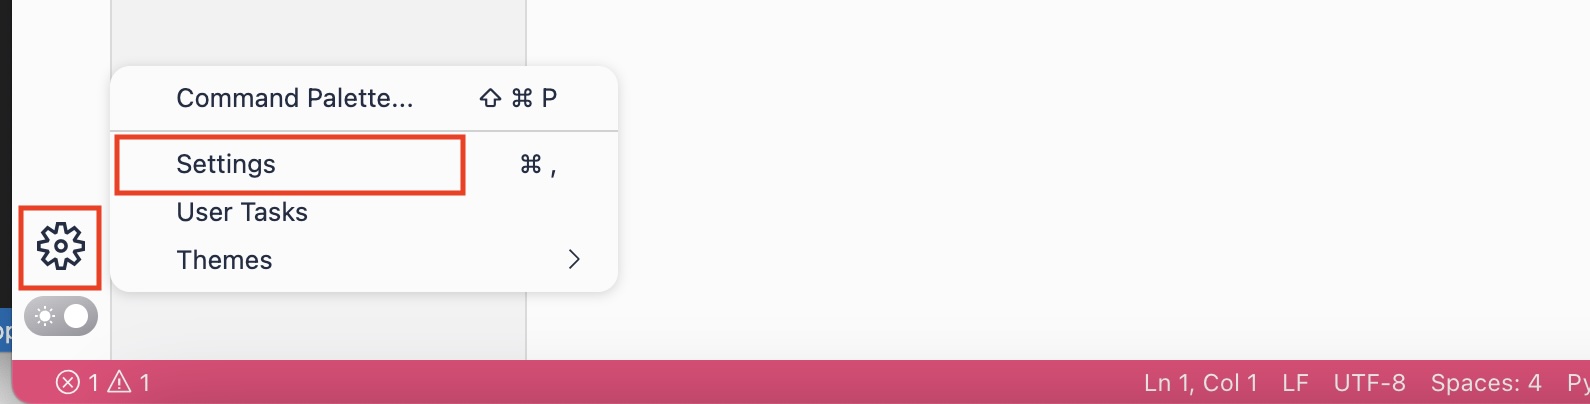
Go to the Manage menu and then Settings:
-
On the User tab
- Change Auto Save to afterDelay and then configure how often you want files to be auto saved by setting Auto Save Delay. Or,
- Change Auto Save to onFocusChange to auto save a file when focus moves away from it.
Working with the Terminal
In a workspace’s terminal, you can run commands available on Linux. These include pip and apt-get.
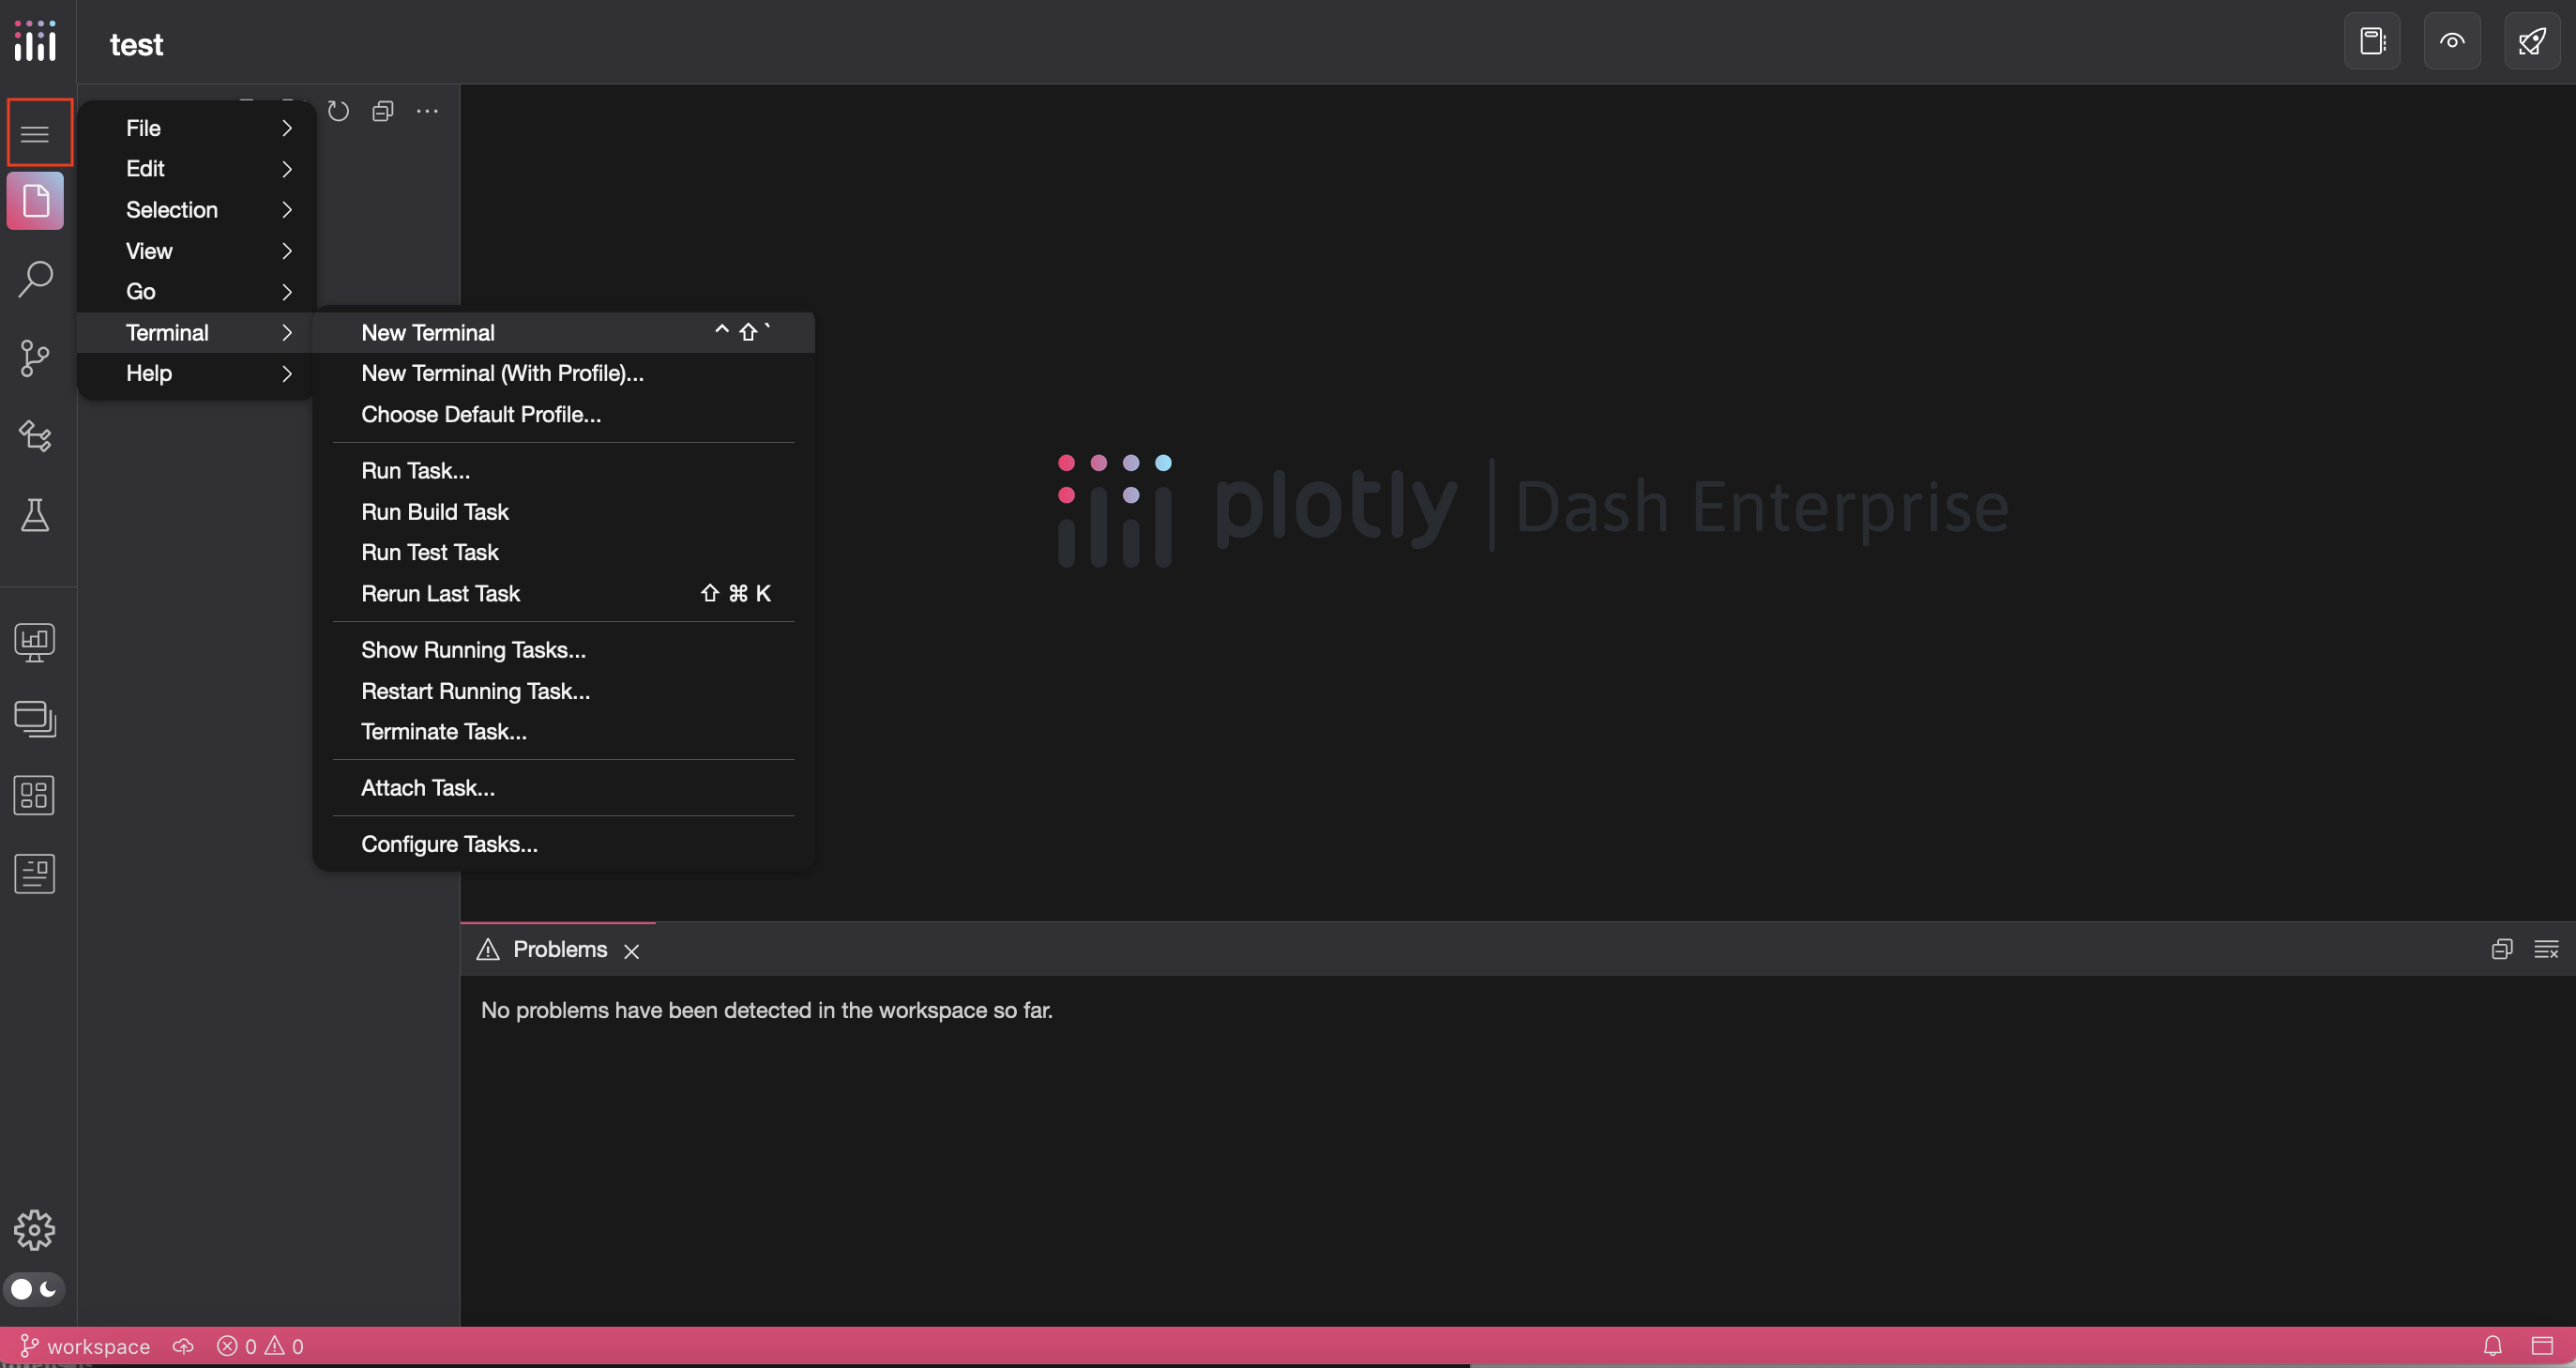
To start a new terminal, select the Main Menu button (just below the Plotly logo), and then select Terminal > New Terminal.
Using the Debugger
New in Workspaces version 1.5.0
The workspace supports debugging of Dash apps using the Debug extension, available from the sidebar on the left in the workspace.
To use the debugger:
-
Go to the Dash app code in the workspace that you want to debug and select the Debug icon.
<img>
-
If it’s your first time debugging in the workspace, you’ll need to configure the debugger by selecting Add configuration, choosing Python Debugger as the environment, and then selecting Debug Python file. This creates a
launch.jsonfile that contains the debugger’s config info. Save this config file (Ctrl+S on Windows/Linux or Command+S on Mac).<img>
<img>
<img>
-
Add breakpoints in your app code (for example, within callbacks) where you want to start debugging, and then select Start debugging.
<img>
You’ll see the debugger and app start:
<img>
-
Select the preview button to view and interact with the app.
<img>
-
When a callback runs and you have breakpoints within that callback, the debugger will stop at the first breakpoint. From the debugger pane on the left, you’ll see debug options:
<img>
- Continue: Resume execution of the code until the next breakpoint or end of the program.
- Step Over: Execute the current line and move to the next line.
- Step Into: Enter a function call on the current line.
- Step Out: Complete the current function and return to the line that called the function.
- Restart: Restart the debugging session.
- Stop: Stop the debugging session.
From the debugger pane, you can access local and global variables from the Variables section, see a list of Breakpoints that you’ve configured, and see the app’s Call Stack.
The debugger is not available within Jupyter Notebooks in workspaces.
Using the IDE as an App Co-Owner
When you open the IDE as an app co-owner, you are notified that you have read-only access. This is also indicated by the page URL, which looks like https://<your-dash-enterprise-server>/workspace/read/workspace-<app-name>.
You can view the app files but cannot make any changes to them. A lock icon is displayed next to each file name.
<img>
Known issue: Trying to view a Jupyter notebook as an app co-owner displays a 404 error.
Additionally, the terminal is disabled.
<img>