Connecting to a Databricks SQL Warehouse from Dash
This page documents how to connect to a Databricks SQL Warehouse from Dash. We’ve also published a series of blog posts that demonstrate different ways to use Dash with Databricks:
- Building Plotly Dash Apps on a Lakehouse with Databricks SQL walks through the steps to build a database on Databricks SQL and connect to it from a Dash app.
- Build Real-Time Production Data Apps with Databricks & Plotly Dash demonstrates building a Dash app with streaming data from Databricks.
- Molson Coors Streamlines Supply Planning Workflows with Databricks & Plotly Dash looks at how to read and write data from a Databricks SQL Warehouse using the Databricks SQL Connector and SQL Alchemy Engine.
- Building Plotly Dash Apps on a Lakehouse with Databricks SQL (Advanced Edition) revisits the first article in the series and demonstrates building Dash apps that query a Databricks SQL database using SQL Alchemy.
- Visualizing a Billion Points: Databricks SQL, Plotly Dash… and the Plotly Resampler demonstrates how to visualize large time-series datasets using Databricks, Dash, and the Plotly Resampler.
Retrieve data living in Databricks to use in your Dash app with the SQL Connector for Python. With this connector, you can run queries on a Databricks SQL warehouse, a cluster designed for efficient data-warehousing style workloads.
Prerequisites
The examples on this page show how to run queries on a Databricks SQL warehouse within a Dash app.
Before getting started, you’ll need to have access to Databricks SQL and have a Databricks SQL warehouse configured. See the Databricks docs for more details on how to set up SQL warehouses.
Configuring Environment Variables
Configure your SQL warehouse’s server hostname and HTTP path as well as your personal access token as environment variables wherever you are running the app.
The environment variable names are: SERVER_HOSTNAME, HTTP_PATH, and ACCESS_TOKEN.
Use the information in Databricks for their values. For details on where to find this information, see the Get started section in Databricks SQL Connector for Python.
Installing SQL Connector
Install Databricks SQL Connector for Python:
pip install databricks-sql-connector
Example 1 - Loading a Static Data Set
You can load a given dataset globally in your app for static visualization. This code demonstrates the basics of connecting your app to a Databricks table, but is not the recommended approach for storing data in an interactive Dash app (see the Why Global Variables Will Break Your App section for more details).
In this basic example, we output the first 100 rows from our table in Databricks to a Dash DataTable component.
from dash import Dash, dash_table
from databricks import sql
import os

app = Dash()
server = app.server

# Set these as environment variables in Dash Enterprise or locally
SERVER_HOSTNAME = os.getenv("SERVER_HOSTNAME")
HTTP_PATH = os.getenv("HTTP_PATH")
ACCESS_TOKEN = os.getenv("ACCESS_TOKEN")

# Configure according to your table and database names in Databricks
DB_NAME = "plotly_iot_dashboard"
TABLE_NAME = "silver_users"

with sql.connect(
    server_hostname=SERVER_HOSTNAME, http_path=HTTP_PATH, access_token=ACCESS_TOKEN
) as connection:
    with connection.cursor() as cursor:
        cursor.execute(f"SELECT * FROM {DB_NAME}.{TABLE_NAME} LIMIT 100")
        df = cursor.fetchall_arrow()
        df = df.to_pandas()

app.layout = dash_table.DataTable(
    df.to_dict("records"), [{"name": i, "id": i} for i in df.columns]
)

if __name__ == "__main__":
    app.run(debug=True)

Example 2 - Dynamically Building an SQL Query Using Callback Inputs
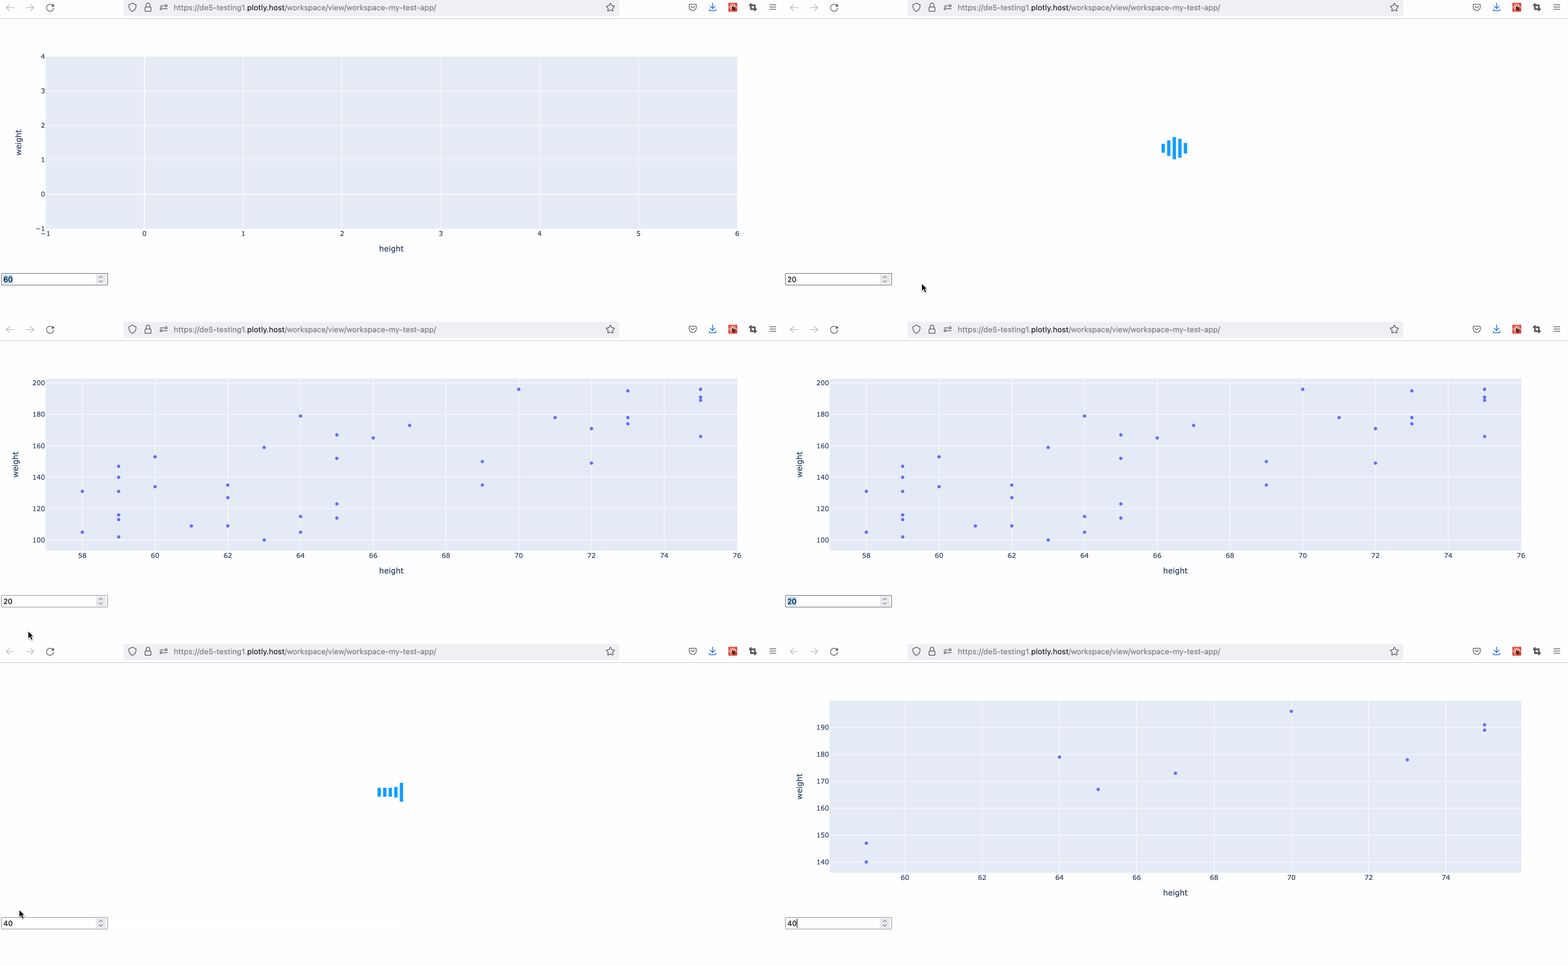
This example builds the SQL queries within the callback and demonstrates how to dynamically create SQL queries based on callback inputs.
import dash
from dash import Dash, html, dcc, Output, Input, callback
from databricks import sql
import plotly.express as px
import os

app = Dash()
server = app.server

# Set these as environment variables in Dash Enterprise or locally
SERVER_HOSTNAME = os.getenv("SERVER_HOSTNAME")
HTTP_PATH = os.getenv("HTTP_PATH")
ACCESS_TOKEN = os.getenv("ACCESS_TOKEN")

# Configure according to your table name in Databricks
DB_NAME = "plotly_iot_dashboard"
TABLE_NAME = "silver_users"


app.layout = html.Div(
    [
        dcc.Loading(dcc.Graph(id="sample-chart-2")),
        dcc.Input(id="val-selector-2", type="number", min=20, max=80, step=5, value=40),
    ],
    style={"background-color": "white", "height": "100vh"},
)


@callback(Output("sample-chart-2", "figure"), Input("val-selector-2", "value"))
def create_chart(selected_val):
    connection = sql.connect(
        server_hostname=SERVER_HOSTNAME, http_path=HTTP_PATH, access_token=ACCESS_TOKEN
    )
    cursor = connection.cursor()
    cursor.execute(
        f"SELECT * FROM {DB_NAME}.{TABLE_NAME} WHERE age > {selected_val} LIMIT 100"
    )
    df = cursor.fetchall_arrow()
    df = df.to_pandas()

    cursor.close()
    connection.close()

    return px.scatter(df, x="height", y="weight")


if __name__ == "__main__":
    app.run(debug=True)

Example 3 - Using SQLAlchemy
This example demonstrates how to rewrite the previous example to use the SQLAlchemy ORM. Run pip install sqlalchemy-databricks to register the Databricks SQL dialect with SQLAlchemy.
from dash import Dash, html, dcc, Output, Input, callback
import plotly.express as px
import os
from sqlalchemy.engine import create_engine
from sqlalchemy import Table, MetaData, select
import pandas as pd

app = Dash()
server = app.server

# Set these as environment variables in Dash Enterprise or locally
SERVER_HOSTNAME = os.getenv("SERVER_HOSTNAME")
HTTP_PATH = os.getenv("HTTP_PATH")
ACCESS_TOKEN = os.getenv("ACCESS_TOKEN")

# Configure according to your table and database names in Databricks
DB_NAME = "plotly_iot_dashboard"
TABLE_NAME = "silver_users"


app.layout = html.Div(
    [
        dcc.Loading(dcc.Graph(id="sample-chart")),
        dcc.Input(id="val-selector", type="number", min=20, max=80, step=5, value=40),
    ],
    style={"background-color": "white", "height": "100vh"},
)


@callback(Output("sample-chart", "figure"), Input("val-selector", "value"))
def create_chart(selected_val):
    # Set up SQL Alchemy engine
    engine = create_engine(
        f"databricks+connector://token:{ACCESS_TOKEN}@{SERVER_HOSTNAME}:443/{DB_NAME}",
        connect_args={
            "http_path": HTTP_PATH,
        },
    )

    # Get a full table with SQL Alchemy
    sensor_table = Table(TABLE_NAME, MetaData(bind=engine), autoload=True)

    # Get some distinct values on app load for filters
    stmt = select(
        [
            sensor_table.columns.age,
            sensor_table.columns.height,
            sensor_table.columns.weight,
        ]
    ).where(sensor_table.columns.age < selected_val)

    df = pd.read_sql_query(stmt, engine)
    return px.scatter(df, x="height", y="weight")


if __name__ == "__main__":
    app.run(debug=True)

Performance Tips
- Filter or aggregate your data as much as possible before bringing it into your Dash app in the browser.
- Configure a Databricks cluster for rapid startup. See the Databricks docs on serverless compute for more details.