Getting Started
This documentation is for Dash Enterprise.
Dash Enterprise is the fastest way to write & deploy Dash apps and
Jupyter notebooks.
10% of the Fortune 500 uses Dash Enterprise to productionize AI and
data science apps. Find out if your company is using Dash Enterprise.
A notebook is a web-based interface to a document that contains runnable code, visualizations, and narrative text.
In this chapter, we will go over how to create, open, save, and upload Jupyter notebooks in a workspace on Dash Enterprise.
Creating a Jupyter Notebook
Jupyter Notebooks in a workspace use the workspace’s Python version. You do not need to manually activate or create a Python kernel or virtual environment, and any packages installed in the workspace’s terminal are available in your notebook environment.
To create a new Jupyter notebook:
- In your workspace, select the New Jupyter Notebook button.
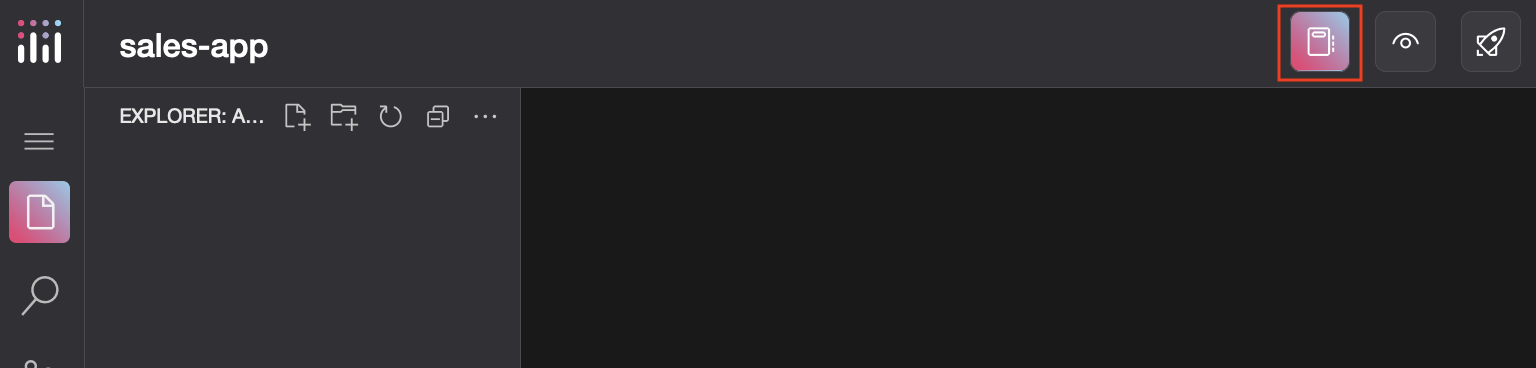
- Enter a name for your notebook; then select OK. The
.ipynbextension is added automatically.
Uploading a Jupyter Notebook
If you have a notebook on your local machine that you would like to work with in Workspaces, drag it to the Explorer tab.
Opening a Jupyter Notebook File
To open your Jupyter notebook file, select it in the Explorer tab on the left of the screen. Jupyter notebooks have the extension .ipynb. When you open a notebook, its kernel is automatically selected.